Category Archives: Rocket Boosters

Rocket Boosters: Part 2

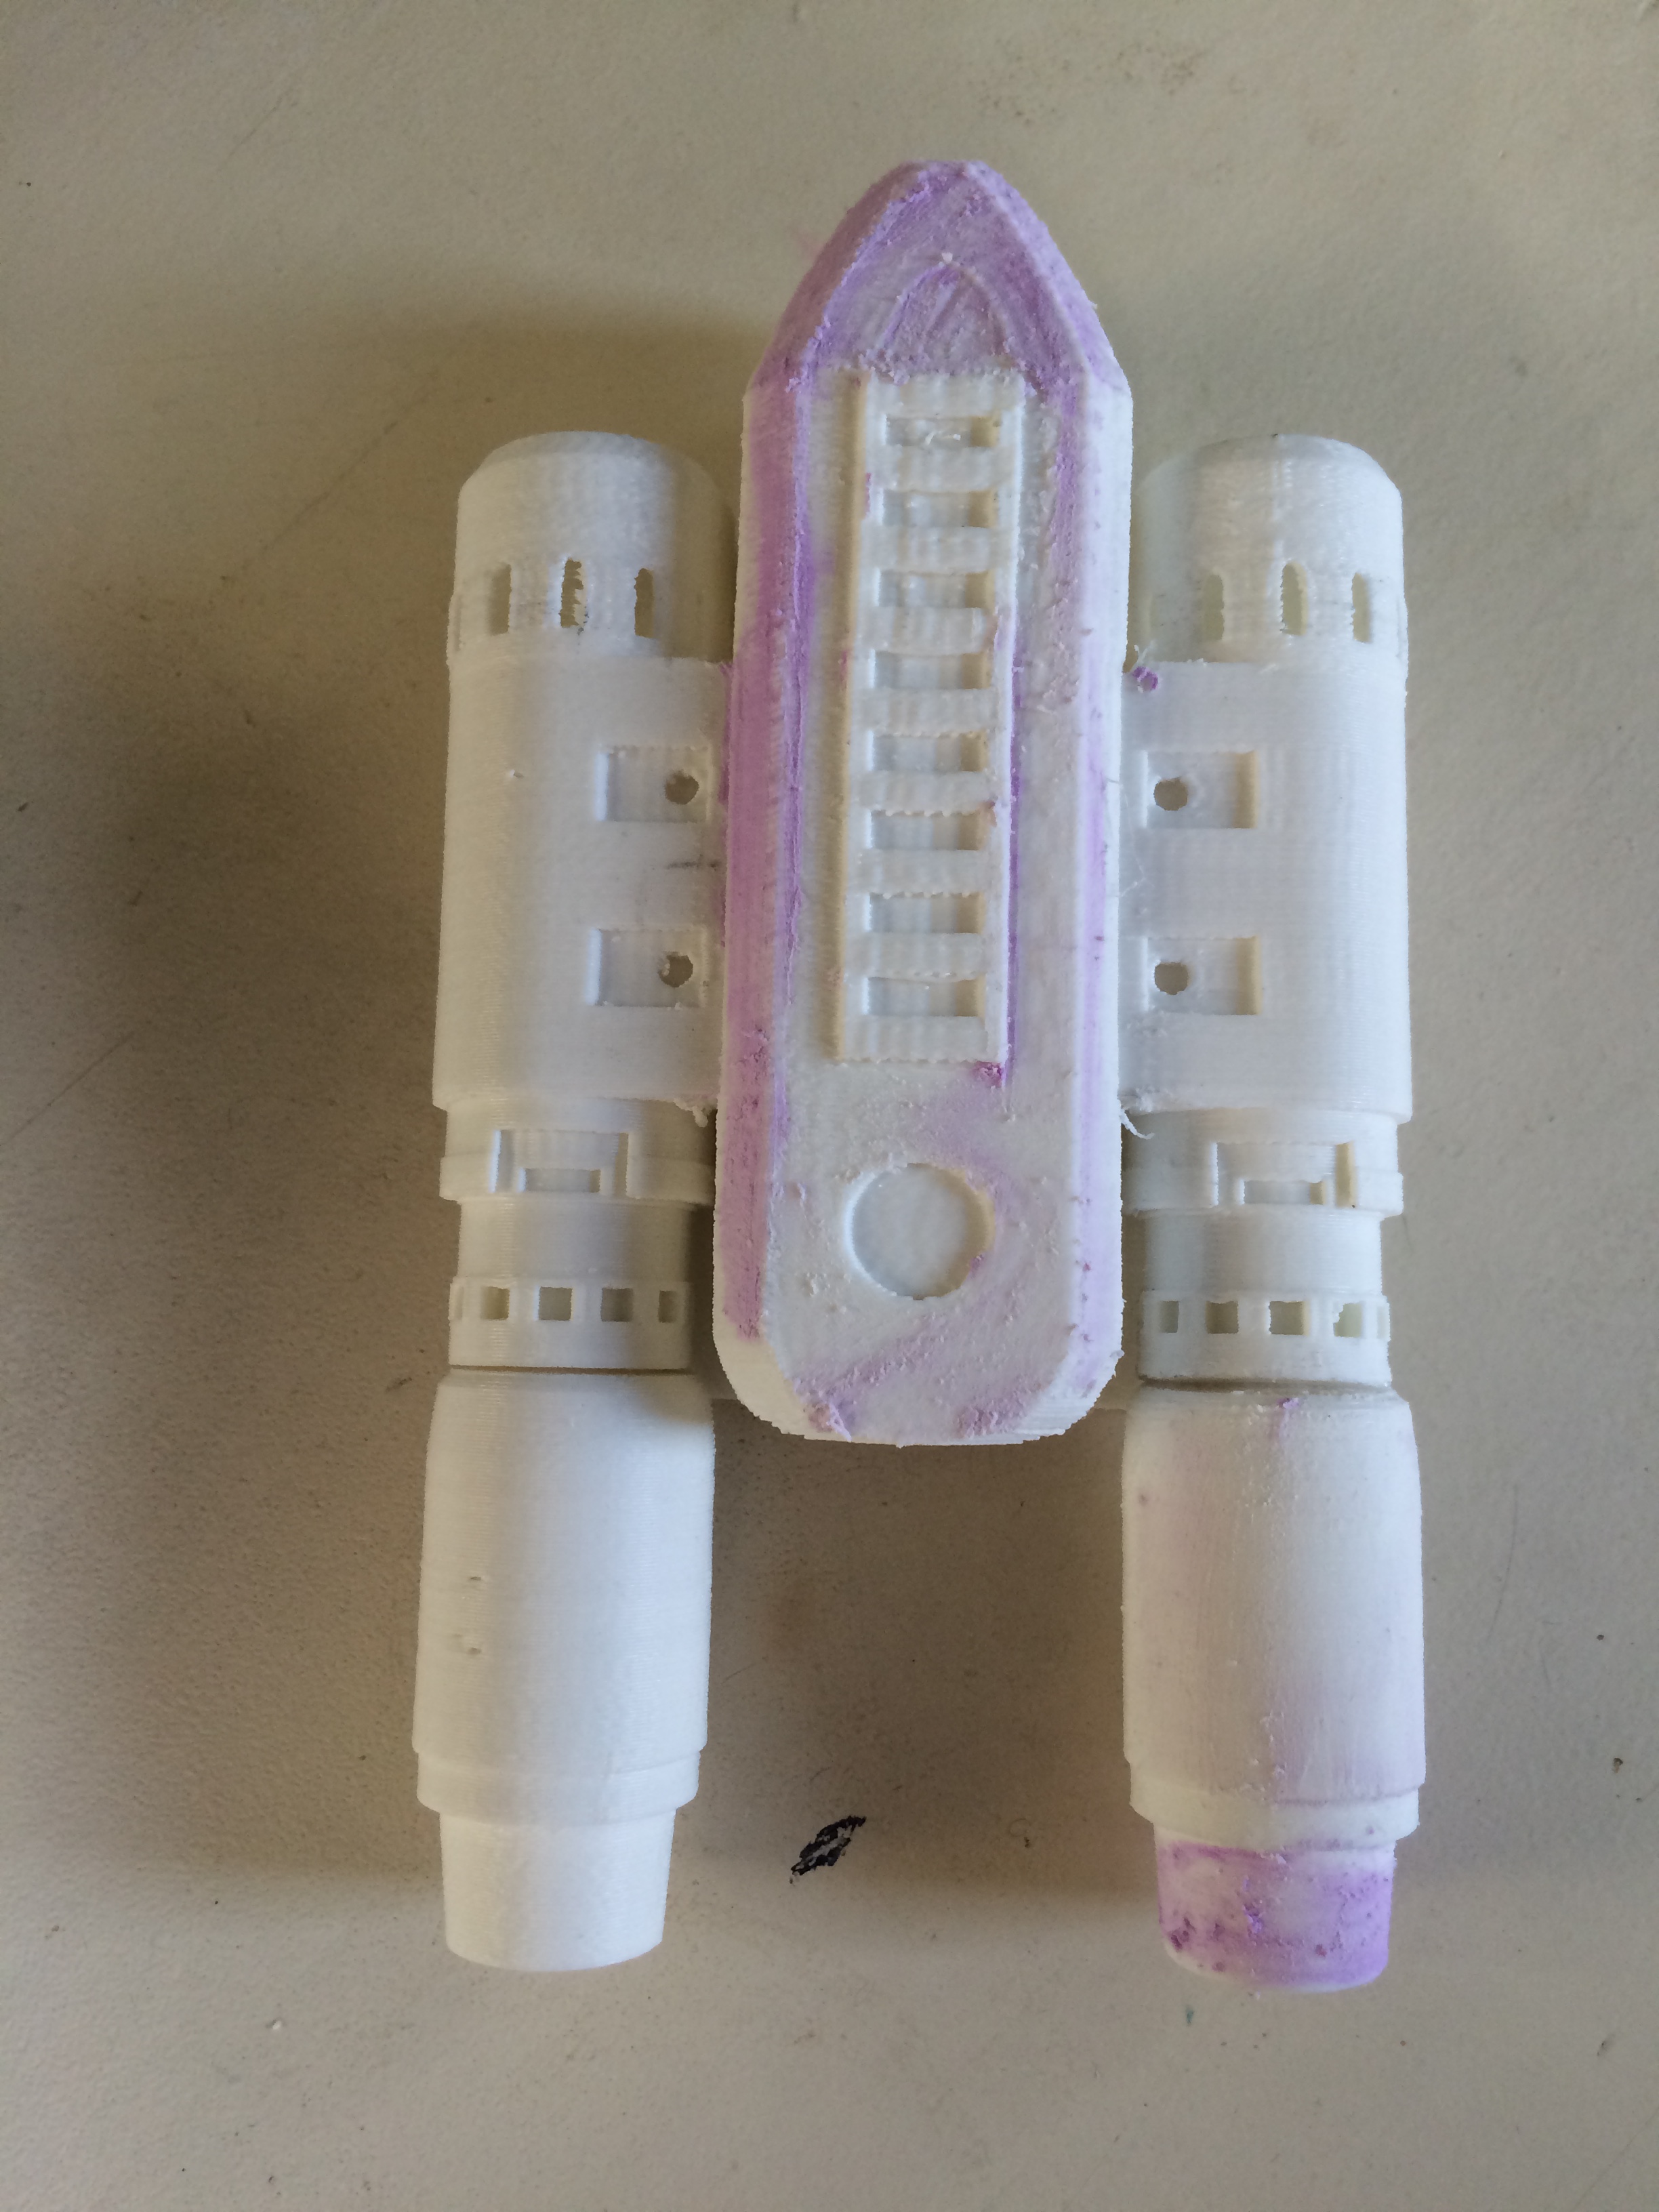
Believe it or not, I found the rocket boosters more difficult to finish than the blasters.

After applying the wood filler and sanding the appropriate parts smooth, I spray painted the blasters flat black.

Here's how it looked after the spray paint dried.

Here’s how it looked after the spray paint dried.

I decided to use Rub-N-Buff for the silver parts because I liked how the blaster finished. I used painter’s tape to control where the silver went. It…mostly worked.

I applied tape to try and control the silver as I applied it.

I applied tape to try and control the silver as I applied it.

There was one particular part that gave me some trouble while painting as the model isn’t completely screen accurate. On the screen used prop, there is a is a black stripe on the middle of each side on a raised ring. On the 3D printed model, this ring doesn’t exist. I decided to use painters tape to create the black stripe on a part that would have otherwise been entirely silver. This broke up the silver on the sides and made it look closer to the screen used version. Here’s the booster after I applied silver paint:

Silver applied from the front.

Silver applied from the front.

From the side.

From the side.

On the screen used prop, the metal on the top is blackened and fades into the black. I tried to replicate this.

On the screen used prop, the metal on the top is blackened and fades into the black. I tried to replicate this.

Here’s the screen used prop compared to the 3D printed version.

This is the screen used prop compared to the 3D  printed one.

This is the screen used prop compared to the 3D printed one.

There are still some details I have to work on. I want to apply a black wash to make it look weathered and some “battle damage.” I may or may not try and apply the bluing to the base. Stay tuned to see the final product.

Thoughts or suggestions? Leave ’em!

The Rocket Boosters: Hello Etsy

For my next project, I decided to work on the rocket boosters. Here’s a reference screenshot:

Marvel's Guardians Of The Galaxy..L to R: Peter Quill/Star-Lord (Chris Pratt) & Gamora (Zoe Saldana)..Ph: Jay Maidment..?Marvel 2014

These are the screen used rocket boosters. 

The best way to acquire these is by having them 3D printed. As the movies was coming out, members of the RPF spent time creating a 3D print file that’s fairly accurate. I could have downloaded the file and brought it somewhere for printing, but decided to order them from Etsy instead. So, a few bucks and a few days later, I received two of these in the mail:

The size and shape are pretty good. The problem is the texture.  For those unfamiliar with 3D printing, the printed objects require a finishing if you want them to be smooth.

I did some research on finishing methods and settled on the one which I felt was the easiest.  Using Elmer’s Wood Filler, I would fill the grooves and then sand the hardened filler to a smooth finish.  Out of all of the finishing methods, I felt that this is the one I could most easily undo if I were to mess it up. This is my first time playing with 3D printing, after all.

This is the booster with some of the wood putty applied.

This is the booster with some of the wood putty applied.

I have to say that this method requires some work. Smoothing out the the large areas is easy. However, it takes some effort to file some of the smaller details and areas. It definitely takes time. I bought some needle files to help with this.

As of now, I’m letting the wood putty dry some more. Hopefully, Ill be able to finish the first booster tomorrow.