Tag Archives: rocket booster

Rocket Booster Controls: Part 2!

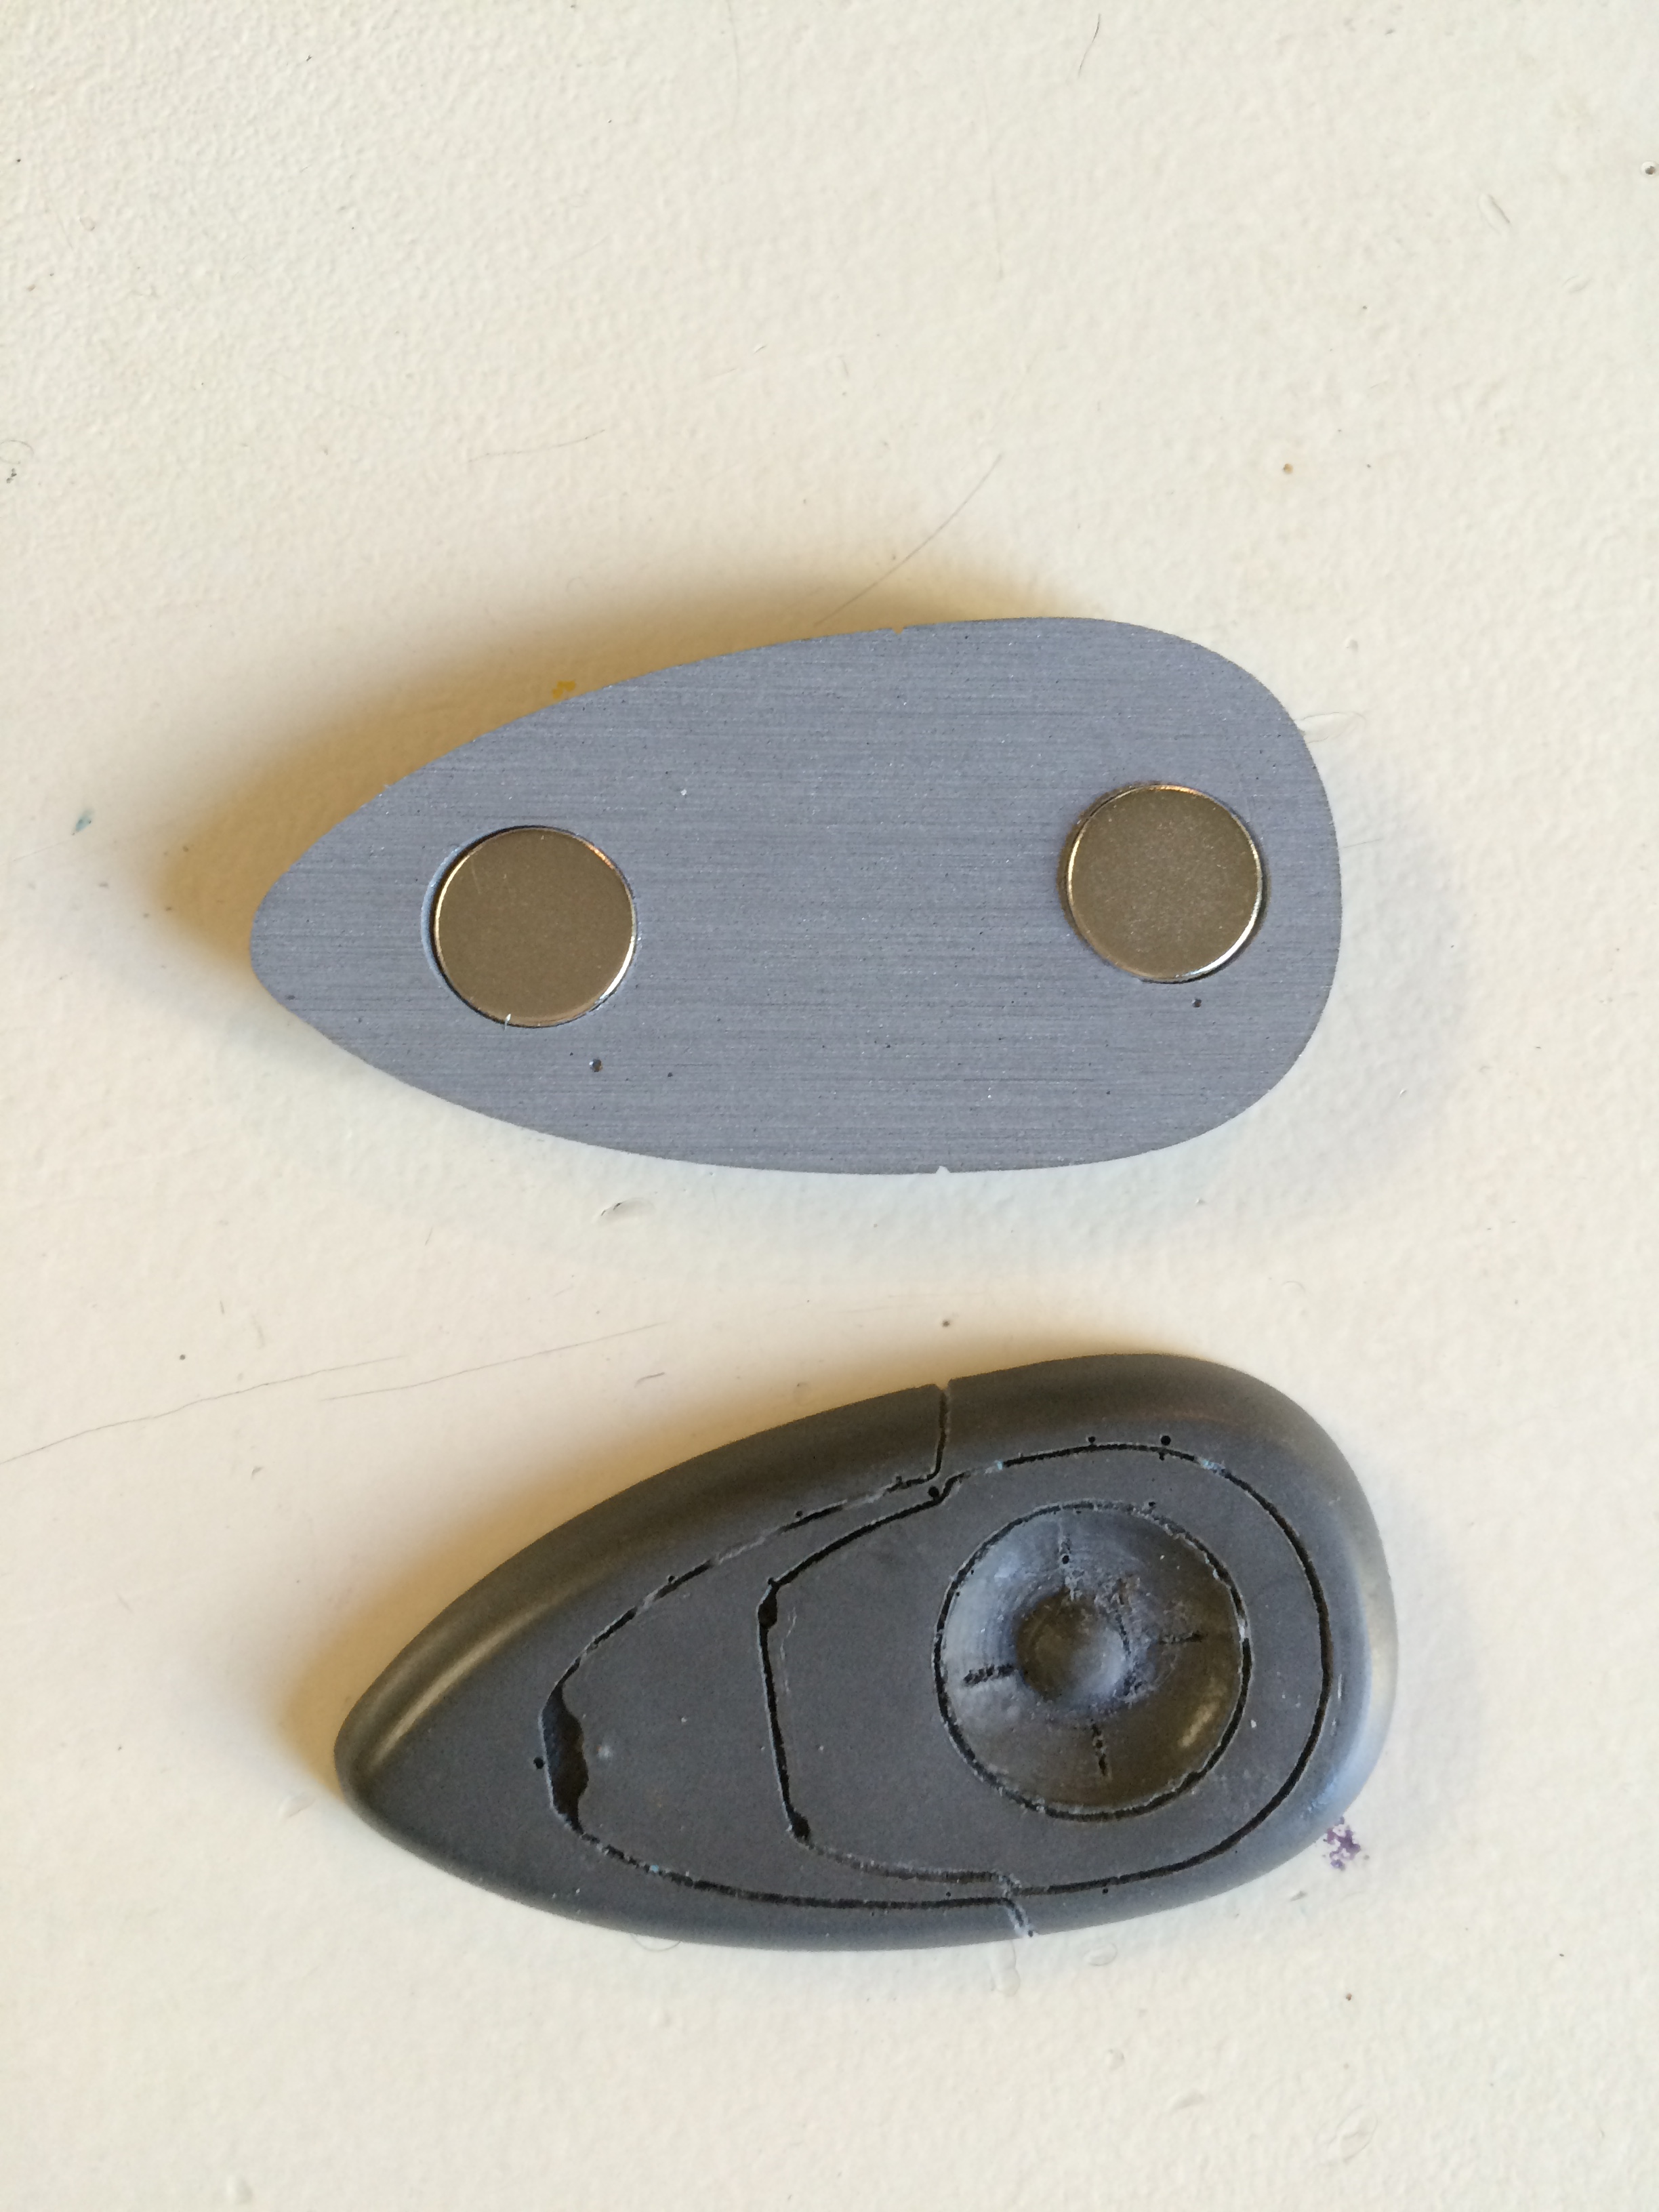
These were a fun little art project. Let me remind you what they looked like when I received them:

As you can see, it needs some finishing work.

As you can see, it needs some finishing work.

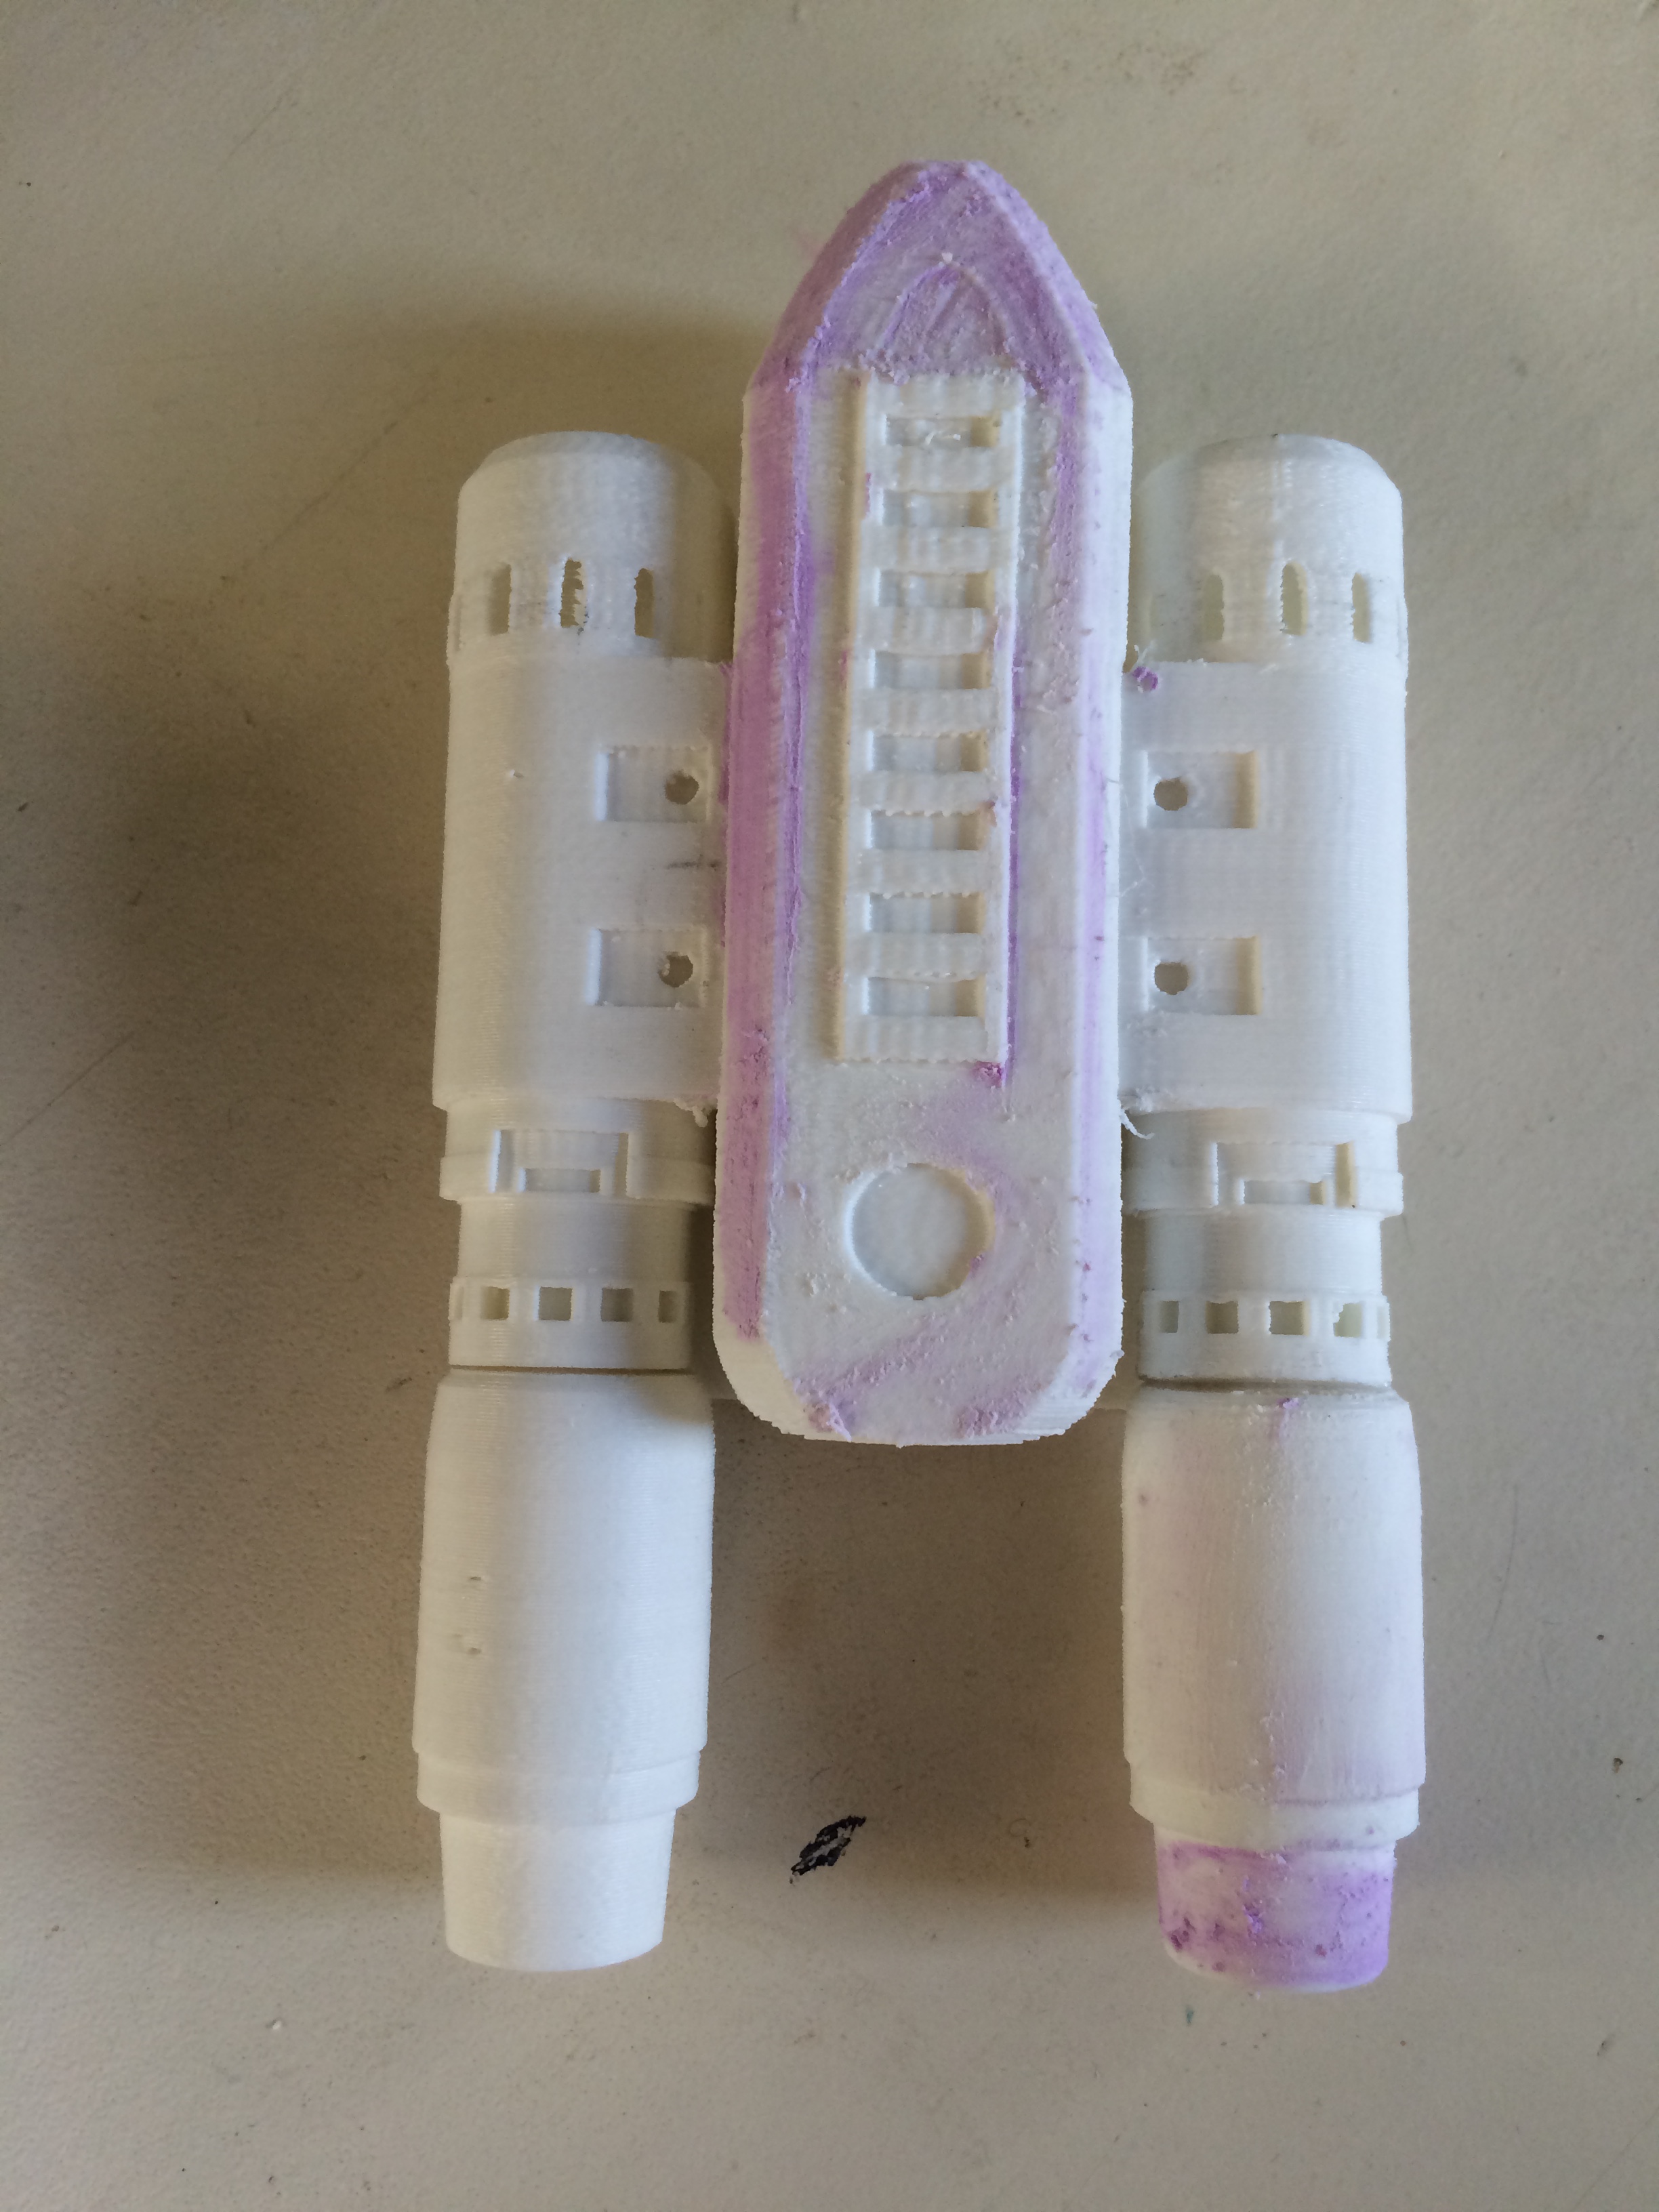
Using an X-ACTO knife, I cleaned out the grooves and tried to smooth out any rough parts on these props. Once I was satisfied with the grooves, I spray painted them flat black.

Spray painting the booster controls. I made sure not to fill the grooves with paint by overdoing it with the paint.

Spray painting the booster controls. I made sure not to fill the grooves with paint by overdoing it with the paint.

Using a brush this time, I slowly applied a layer of silver Rub-N-Buff to give it a dirty, metallic look.  I left the center button black to match the film used prop. When I liked the look, I sprayed it with a coat of glossy Deft to protect the paint.

One thing I noticed with the Rub-N-Buff is that it NEEDS the clear coat. With paint, you can get away without the protective coat.  You would be taking a chance that the paint chips, but you could handle the prop carefully and get away with it. Not so with Rub-N-Buff. Because it is wax based, a thin coat never really seems to dry completely. It will rub off and blemish if touched with enough force. Just a word of caution there.

Anyway, here is a step by step look:

Finished product on the right. Thoughts?

Finished product on the right. Thoughts?

Thoughts?

Rocket Booster Controls: Details, Details, Details…

These controls are another small detail which I probably could have skipped.

But I didn’t.

As a reminder of what these are and where they fit in the overall outfit, here’s a (somewhat blurry) screenshot of Star Lord’s leg:

See the booster control on the leg?

See the booster control on the leg?

At first, I thought about making them.  They don’t seem terribly detailed. In preparation, I began looking around for close ups and other fan made mock ups to base my model off of.

While searching, I ended up on Etsy and found some cool models for sale.  One, in particular, caught my eye. A shop called Nova Props cold casts rocket booster controls from hard plastic. What sets them apart from other fan made props is the strong magnets inserted in them. Nova props sells the controls with iron on patches containing magnets of their own.

Buying these meant that I didn’t have to spend time figuring out how to attach the controls to the pants. Definitely a time saver. Here’s some shots of the controls taken after I received them:

As you can see, it needs some finishing work.

As you can see, it needs some finishing work.

This shows the front and back. You can see the magnets.

This shows the front and back. You can see the magnets.

These are the rocket control patches.

These are the rocket control patches.

As you can see, the controls need some finishing work. Shouldn’t be hard to finish them in the same way I did the rocket boosters.

One step closer. It’s amazing how many steps there are to getting this done.

Rocket Booster: Part 3

The first booster is finished! Here’s how it went…

After the paint dried, I used a black wash (black paint mixed with water) to darken the silver and bring out some of the details. It makes it look dirty, old, and used. I then dry-brushed silver rub-n-buff on the edges and raised surfaces.  If this booster were real, black paint would have rubbed off on these areas.  To further add to the used look (and replicate the screen used prop), I gashed the black paint in a couple of places and then filled in the gash with silver paint.  This was designed to simulate the booster being dinged and battered during use.

To finish it off, I applied a clear layer of Deft (Satin Finish) in order to protect the paint job.

Here’s how it turned out:

Booster Bottom 2

IMG_5044

IMG_5042

Here’s the progression, from start to finish.

Rocket Booster Progression

I would love to hear thoughts, comments, and suggestions. Leave them below!

Rocket Boosters: Part 2

Believe it or not, I found the rocket boosters more difficult to finish than the blasters.

After applying the wood filler and sanding the appropriate parts smooth, I spray painted the blasters flat black.

Here's how it looked after the spray paint dried.

Here’s how it looked after the spray paint dried.

I decided to use Rub-N-Buff for the silver parts because I liked how the blaster finished. I used painter’s tape to control where the silver went. It…mostly worked.

I applied tape to try and control the silver as I applied it.

I applied tape to try and control the silver as I applied it.

There was one particular part that gave me some trouble while painting as the model isn’t completely screen accurate. On the screen used prop, there is a is a black stripe on the middle of each side on a raised ring. On the 3D printed model, this ring doesn’t exist. I decided to use painters tape to create the black stripe on a part that would have otherwise been entirely silver. This broke up the silver on the sides and made it look closer to the screen used version. Here’s the booster after I applied silver paint:

Silver applied from the front.

Silver applied from the front.

From the side.

From the side.

On the screen used prop, the metal on the top is blackened and fades into the black. I tried to replicate this.

On the screen used prop, the metal on the top is blackened and fades into the black. I tried to replicate this.

Here’s the screen used prop compared to the 3D printed version.

This is the screen used prop compared to the 3D  printed one.

This is the screen used prop compared to the 3D printed one.

There are still some details I have to work on. I want to apply a black wash to make it look weathered and some “battle damage.” I may or may not try and apply the bluing to the base. Stay tuned to see the final product.

Thoughts or suggestions? Leave ’em!

The Rocket Boosters: Hello Etsy

For my next project, I decided to work on the rocket boosters. Here’s a reference screenshot:

Marvel's Guardians Of The Galaxy..L to R: Peter Quill/Star-Lord (Chris Pratt) & Gamora (Zoe Saldana)..Ph: Jay Maidment..?Marvel 2014

These are the screen used rocket boosters. 

The best way to acquire these is by having them 3D printed. As the movies was coming out, members of the RPF spent time creating a 3D print file that’s fairly accurate. I could have downloaded the file and brought it somewhere for printing, but decided to order them from Etsy instead. So, a few bucks and a few days later, I received two of these in the mail:

The size and shape are pretty good. The problem is the texture.  For those unfamiliar with 3D printing, the printed objects require a finishing if you want them to be smooth.

I did some research on finishing methods and settled on the one which I felt was the easiest.  Using Elmer’s Wood Filler, I would fill the grooves and then sand the hardened filler to a smooth finish.  Out of all of the finishing methods, I felt that this is the one I could most easily undo if I were to mess it up. This is my first time playing with 3D printing, after all.

This is the booster with some of the wood putty applied.

This is the booster with some of the wood putty applied.

I have to say that this method requires some work. Smoothing out the the large areas is easy. However, it takes some effort to file some of the smaller details and areas. It definitely takes time. I bought some needle files to help with this.

As of now, I’m letting the wood putty dry some more. Hopefully, Ill be able to finish the first booster tomorrow.