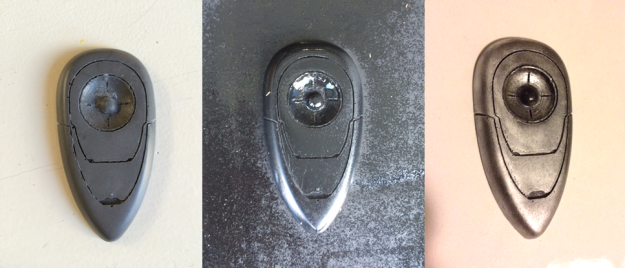
These were a fun little art project. Let me remind you what they looked like when I received them:
Using an X-ACTO knife, I cleaned out the grooves and tried to smooth out any rough parts on these props. Once I was satisfied with the grooves, I spray painted them flat black.

Spray painting the booster controls. I made sure not to fill the grooves with paint by overdoing it with the paint.
Using a brush this time, I slowly applied a layer of silver Rub-N-Buff to give it a dirty, metallic look. I left the center button black to match the film used prop. When I liked the look, I sprayed it with a coat of glossy Deft to protect the paint.
One thing I noticed with the Rub-N-Buff is that it NEEDS the clear coat. With paint, you can get away without the protective coat. You would be taking a chance that the paint chips, but you could handle the prop carefully and get away with it. Not so with Rub-N-Buff. Because it is wax based, a thin coat never really seems to dry completely. It will rub off and blemish if touched with enough force. Just a word of caution there.
Anyway, here is a step by step look:
Thoughts?


