Tag Archives: fundraising

Chris Pratt: Using Star Lord to Make a Difference

Chris Pratt Charity

Chris Pratt is offering the chance to hang with him on set. Check out his fundraising campaign for details. Seriously. I bet he’s awesome to hang with. 

Thanks to my Star-Lord project, I’ve developed quite an affinity for all things Star-Lord. I’ve grown to appreciate the complexity of his character, what he stands for, and Chris Pratt’s depiction of him in the movies and public appearances. I get particularly excited when someone, particularly the actor himself, uses the character for charitable purposes. Chris, more than many other actors, recognizes the power of his character to advance charitable causes, raise money, and lift the spirits of those around him.

Yesterday, I was excited to see that he’s at it again. In an effort to raise money for his hometown Boys and Girls club, Chris is offering some awesome goodies and a chance to visit him on the set of Guardians 2. How cool.

Boys and Girls

From Chris’ site, here’s a picture of kids from his hometown who utilize the club. In his words: “who you’ll help.”

For me, the value of this campaign isn’t the in the rewards. It’s seeing Chris Pratt trying to make a difference by utilizing a character that people love. It’s in him using his fame to improve the world in a small way.

I’m going to support that. Speaking as someone who ran a fundraising campaign for charity, the number of donations matters as much as the total money raised. I don’t have much money to spare, but I’m going to scrape together to do what little I can.

Let’s spread the word and help Chris out.  If you appreciate Chris and managed to scrape something together for a donation, leave a comment!

Turning a Passion into Fundraising (or What I Learned)

This was an amazing project. Expensive, stressful, and daunting at times, but amazing. When all was said and done, we raised over $1,500, far more than I imagined was possible when I began!

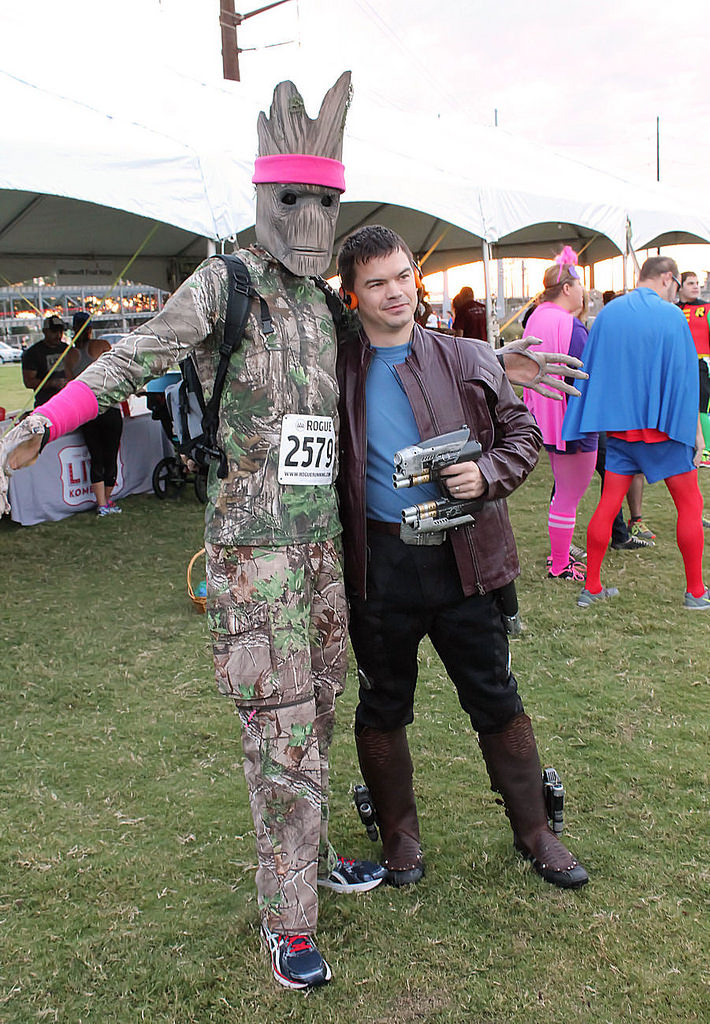
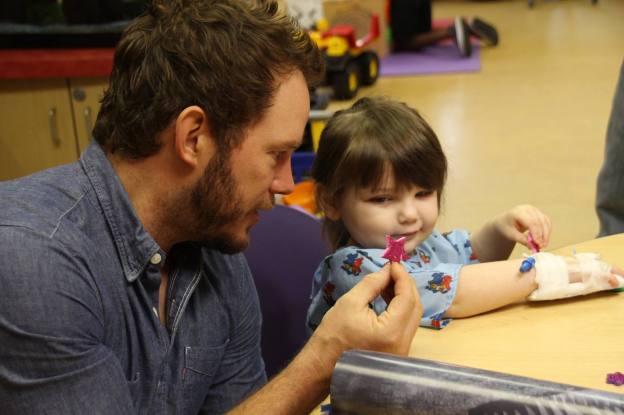
To recap, this project consisted of me painstakingly creating a superhero costume in preparation for a 5k hosted by a local non-profit that helps children in need. The goal was to raise as much money as possible by using social media and a blog to update donors on my costume progress. The project ended at the 5k where I was able to connect with the organization I was supporting and a group of civically engaged individuals who shared my passion for helping those in need. I received countless messages of support along the way, was featured in a local non-profit blog, and learned a ton about fundraising. Here are some of my takeaways:

1. Passion matters. In this project, I aimed to combine two things:

– Supporting a local non-profit that I care about. (i.e. CASA)

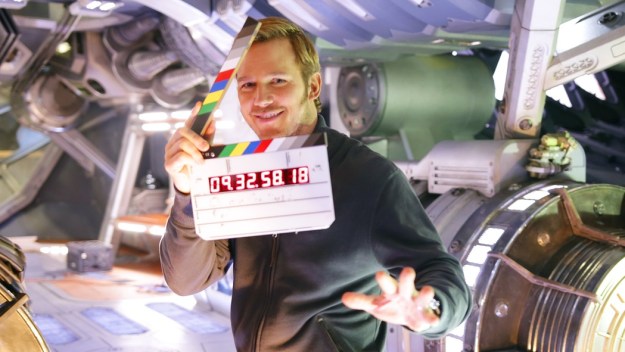
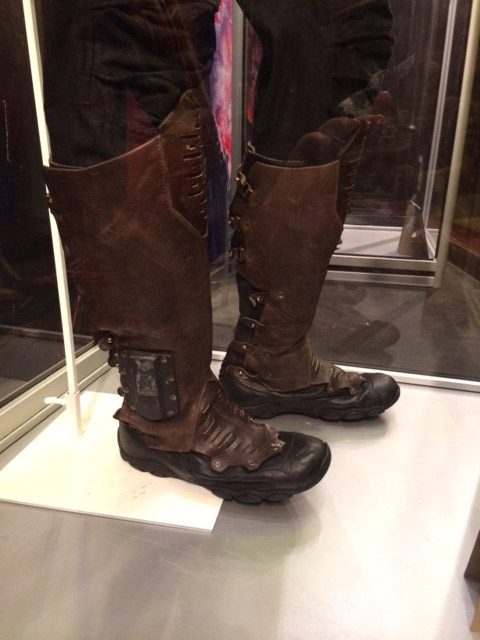
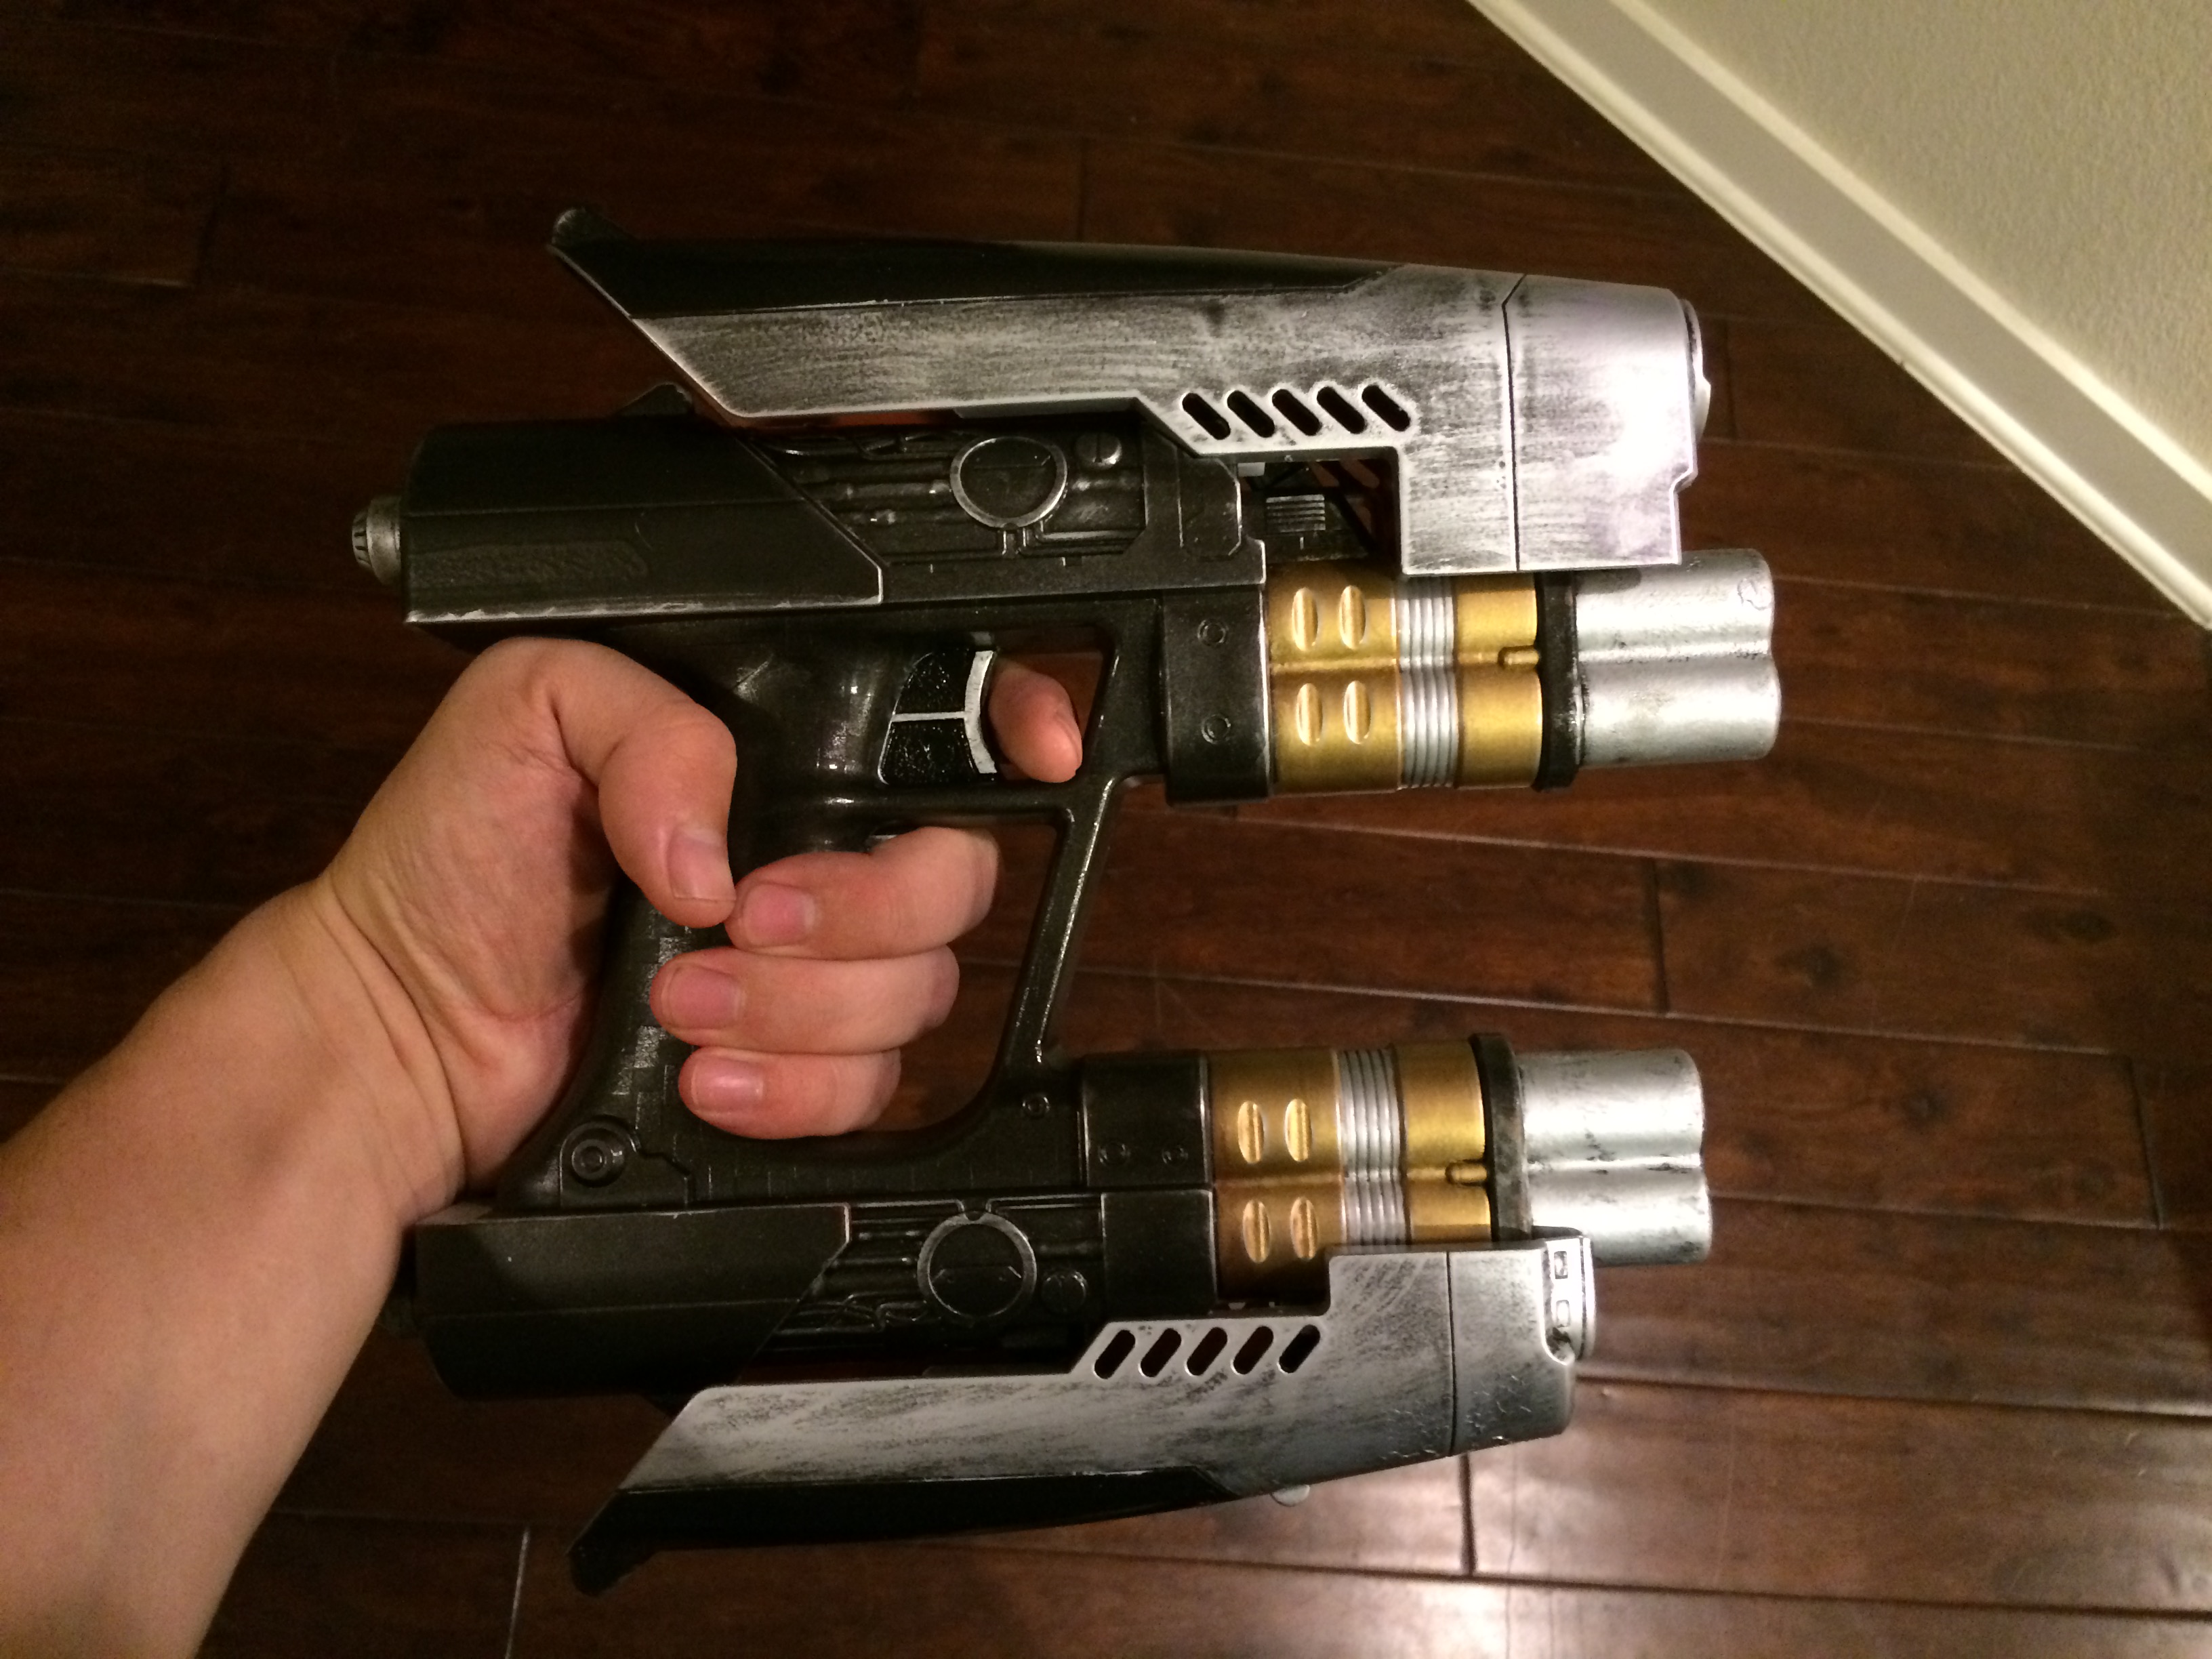
– A hobby or passion I enjoy. (i.e. creating my Star-Lord outfit)

Both of these were important. I don’t think I would have had as much fun if I couldn’t passionately communicate CASA’s mission or if I didn’t care about what they do. Similarly, if my project wasn’t something I generally looked forward to working on, I would have burned out. When picking an organization to support, choose you are become emotionally invested in.

2. Momentum happens. Once I started blogging, I began receiving feedback from friends, family, and strangers. People started to follow the project. As people realized what I was doing and recognized the time, effort, emotion, and money I was investing in the process, they began to donate. These donations spurred me to continue blogging and the cycle repeated itself. Blog, feedback, donations, blog. Once I realized that people are invested in what I was doing, emotionally or financially, there was no way to stop. At least, no way to stop without feeling incredibly guilty about letting everyone down. Once you commit, you have to see the project through.

3. Convey your passion. This is why people donate. Sure, your donors feel good about supporting a good cause, but that’s not why they do it. There are countless worthy causes, organizations, and campaigns out there that need money. They donate to support you. You have to convey your passion for the organization, the hard work you’re putting in, and then show them the results. That point deserves its own bullet…

4. Show your donors the results. I received a ton of feedback from individuals who had already donated. They enjoyed seeing my updates, my training, and pictures from the day of the run. A donor is someone with whom you have developed a relationship. They are invested in you and your project. You owe them feedback. They love seeing the results and you will love showing them.

5. You can apply anything to this method of fundraising. The link between my “hobby” and the organization I was supporting was fairly self-explanatory. CASA created the Super Hero run and I merely picked the costume I wanted to create. However, there’s no reason you couldn’t create your own campaign using whatever hobby you enjoy and any organization that needs help. There are numerous platforms online for you to create a fundraising page. Pick a project people can follow and an organization that you love…and get started!

Projects like these enrich your community, enrich you, and enrich those who follow your progress. Fundraising doesn’t have to be tedious. You can do good in the world and enjoy the process as much as the payoff.

The “Run”

After months of preparation, costume design, and annoying my friends on Facebook, the run is complete. Here’s how it went down.

My morning began at 3am. Because my wife was helping to run the event, we had to get there early. Super early. At 4am the park was dark and cool. We couldn’t have asked for better weather. After arriving, I helped place signs, set up tables, and move boxes of t-shirts.

It is amazing how much goes on behind the scenes to make these events happen. There were hundreds of volunteers to direct, water stations to set up, and tents to arrange. Despite everything we had to do, it went smoothly and everything was ready by the time the first runners rolled in.

And roll in they did – over 2500 runners in all. Supermen, Batmen, Ninja Turtles, Marvel, DC, Nintendo and Nickelodeon. Simple costumes and elaborate costumes. I saw it all. Although I spotted several Groots, there were no other Star Lords in attendance.  So, luckily, I had a unique costume. Unfortunately, Star Lord doesn’t really stand out.  Very few people realized who I was. I think most people assumed I was some random futuristic biker. But all of the Groots knew who I was…so there’s that.

He is Groot.

He is Groot.

Before the run, I spent most of my time watching the costume contest. It was great seeing people show off costumes they put so much time into.  I have to say, my favorite was the “Mario Kart” family. Hilarious, and ingenious. Eventually, it was time to head to the starting line. I made my way there and ended up near the end of the pack.  That was fine with me.  I wasn’t looking to win any speed medals. In fact, I was so paranoid of dropping the Walkman that I ended up walking the majority of the route.  My brother, dressed as Duffman, walked with me.

I’m not going to lie, it was warm. Hot even.  The jacket and the pants are not ideal for running/walking. However, I’m proud to say that I survived.

Guardians of the Galaxy...and Robin with ice cream.

Guardians of the Galaxy…and Robin with ice cream.

Found some other Guardians at the run.

Found some other Guardians at the run.

Here is the full getup!

Here is the full getup!

Star Lord Boot Covers

I’m not going to lie, the boot covers were intimidating. I found some tutorials online, but didn’t think I had the leather-working skills to pull them off effectively. So, I outsourced the labor.

I found a gentleman named James Neathery who is pretty good with leather.  Having already made numerous copies of these boot covers, I sent him a message asking him to make a pair for me. If anyone is interested in custom projects, I’ll post his business card in the bottom of this blog post.

So, here is what they look like (with rocket booster mounted) side by side with the screen used boot covers:

While not exact, these things are pretty darn good.

While not exact, these things are pretty darn good. Of course, Chris Pratt’s are more weathered…

You can see the quality of the leatherwork, here. They are well made. Each cover comes in two parts, the front and back.  The straps stretch around the leg and fasten to rivets on the back of the boot covers.  There is an elastic strap on the bottom that loop over the shoe, holding the cover in place. Having seen a picture of the clip on the back of my rocket boosters, James placed a strap on the side that allows me to attach them snugly.

Here’s a picture of the back:

Here is the back. The straps actually attach to a second leather piece.

Here is the back. The straps actually attach to a second leather piece.

I must say, they fit really well. James asked for some measurements so they fit me perfectly and over the pants I purchased for this outfit.

Overall, I’m really pleased.  For an added bonus, I have a video showing the boot covers and what they look like when worn.

Finally, here is James’ business card.

Starboard Sky Leather Business Card

The Boots…er Shoes…?

Let’s start by taking a look at these things.  Here are a few pictures of the screen used costume pieces:

Another angle from the RPF.

Another angle from the RPF.

View from the back.

View from the back.

Like pretty much everything else Star-Lord wears, I’m pretty sure that these are custom made. They are definitely boots.  The bottoms look like sketchers with a sneaker like sole. At first, I thought he was simply wearing sketchers with boot covers. However, when you examine the back of his legs, you can definitely tell that he is wearing boots.  They are weird boots, but boots nonetheless.

As I saw it, I had two ways of tackling these.

  1. Buy Sketchers. Proper boot covers would conceal the fact that I’m not wearing shoes.
  2. Find boots – hope they look somewhat like the screen used versions.

I chose to go with option 1. Because the majority of whatever boots I bought would be covered by the boot covers, it made sense to me to focus on making the exposed part of the footwear – the part on my feet – match as best as possible. It also occurred to me that running in boots sucks. A lot. Wearing shoes would make things a lot easier.

For matching shoes, I went with these:

Available on Amazon!

Available on Amazon!

These sketchers seem to match the base of the boots fairly well. In particular, I noticed that the soles as viewed from the sides appears to be dead on.  So, these are what I went with. Let’s hope that it’s not too noticeable that I’m not wearing boots!

The 5k is getting closer and closer…

A Thought Provoking Banner…

At an event this weekend, I came across a CASA banner posted in a hallway.  I read it, reread it, and took a picture before moving on.  It made me think, not only about the important work CASA does but the power of a strong role model and/or guardian in the life of a young child. Before I go on, let me share it with you:

CASA banner

As I walked down the hallway of the JW Marriott (to an event I was late for), I considered the banner and the story it told. How many children go through their lives without a healthy role model to guide them? Many, I’m sure. The challenge is identifying these children, identifying mentors, and bringing them together.

Identifying the children who need help is the first step, but there are many agencies and organizations already dedicated to this work. Schools, CPS, and even concerned private citizens look for signs of abuse, hopelessness, and depression in today’s youth. We have thousands of children in our CPS and foster care systems who, according to the state, need something more than their biological parents were providing. Agencies struggle to help the parents and the children. Oftentimes, though, children face uncertainty as they are moved from place to place, though the system, with no one person to lean on, look to, and rely on. That is where CASA, and organizations like them, try to step in.

I’m firmly convinced that, for every child in need in our society there are many strong adults willing to be role models and guides. America is filled with wonderful, giving people. The challenge is recruiting those with a little extra time to spare, showing them how they can help, and giving them the ability to do so. CASA aims to bring these people together – the children in need and an adult willing to be there for them as they work their way through the CPS and foster care systems.

Unfortunately for me, my profession keeps me moving and I don’t want to be in the position of leaving a child I’ve formed a bond with. The best I can do is spend a couple of months raising money for the people doing the work that I can’t. This banner reminded me why this project is so important to me.

As always, thanks for reading and thanks to those who have donated!

Rocket Booster Controls: Part 2!

These were a fun little art project. Let me remind you what they looked like when I received them:

As you can see, it needs some finishing work.

As you can see, it needs some finishing work.

Using an X-ACTO knife, I cleaned out the grooves and tried to smooth out any rough parts on these props. Once I was satisfied with the grooves, I spray painted them flat black.

Spray painting the booster controls. I made sure not to fill the grooves with paint by overdoing it with the paint.

Spray painting the booster controls. I made sure not to fill the grooves with paint by overdoing it with the paint.

Using a brush this time, I slowly applied a layer of silver Rub-N-Buff to give it a dirty, metallic look.  I left the center button black to match the film used prop. When I liked the look, I sprayed it with a coat of glossy Deft to protect the paint.

One thing I noticed with the Rub-N-Buff is that it NEEDS the clear coat. With paint, you can get away without the protective coat.  You would be taking a chance that the paint chips, but you could handle the prop carefully and get away with it. Not so with Rub-N-Buff. Because it is wax based, a thin coat never really seems to dry completely. It will rub off and blemish if touched with enough force. Just a word of caution there.

Anyway, here is a step by step look:

Finished product on the right. Thoughts?

Finished product on the right. Thoughts?

Thoughts?

Rocket Booster: Part 3

The first booster is finished! Here’s how it went…

After the paint dried, I used a black wash (black paint mixed with water) to darken the silver and bring out some of the details. It makes it look dirty, old, and used. I then dry-brushed silver rub-n-buff on the edges and raised surfaces.  If this booster were real, black paint would have rubbed off on these areas.  To further add to the used look (and replicate the screen used prop), I gashed the black paint in a couple of places and then filled in the gash with silver paint.  This was designed to simulate the booster being dinged and battered during use.

To finish it off, I applied a clear layer of Deft (Satin Finish) in order to protect the paint job.

Here’s how it turned out:

Booster Bottom 2

IMG_5044

IMG_5042

Here’s the progression, from start to finish.

Rocket Booster Progression

I would love to hear thoughts, comments, and suggestions. Leave them below!

Chris Pratt Visits a Children’s Hospital

A few days ago, Chris Pratt reminded me that it only takes a small amount of effort to make a child’s day.

On June 20th, the Guardians of the Galaxy star stopped by Our Lady of the Lake Children’s Hospital in Baton Rouge, Louisiana to visit with some of their patients.  Despite his busy schedule, Chris spent hours lifting the spirits of those in need. These pictures come from the hospital’s Facebook page and tell the story of his visit better than I ever could.

Is this a wonderful picture, or what?

Is this a wonderful picture, or what?

The Jurassic World lead brought some goodies from the new hit film and personalized them for the kids.

The Jurassic World lead brought some goodies from the new hit film and personalized them for the kids.

For those who have seen Jurassic World, you know what this picture is...

For those who have seen Jurassic World, you know what this picture is…

I'll bet this patient will remember this visit forever.

I’ll bet this patient will remember this visit forever.

Chris poses with the kids.

Chris poses with the kids.

What an inspiring story.

For me, this served as a reminder of how small efforts and actions can have a huge impact on those who are in need, especially children. In a weird way, it makes Star-Lord feel like a real life superhero and not one that exists purely in the Marvel cinematic universe. I’m excited to finish the costume.

For anyone who would like to donate a couple of dollars to my fundraising effort for CASA, they can do so here!

Star Lord Nerf Blaster Modification: Part 2

Turns out, it takes a while for spray paint to dry completely. After letting the paint set for 24+ hours, I began phase two of the gun conversion.

After doing some research, I decided to use Deft Wood Finish for a clear coat.  If you’re doing something like this, make sure to wear gloves and a mask.  The mask is key. The fumes go to your head quickly and – as the bottle nicely points out – can cause brain damage. Yeah.

I had a little debate with myself when choosing what type of finish to use: gloss or satin. I liked the idea of using satin as the gun is supposed to be worn and dirty. I was afraid, however, of losing the metallic look of the rub-n-buff. I ended up applying the satin to the back two sections of the outer shell to see how it looked. I have to say, I loved the way it made the black paint look. However, I did lose the metallic luster of the rub-n-buff and so decided to go with a gloss for the rest of the gun.

After applying the first coat, I was worried that I had ruined my paint job.  When the sealer goes on, it often clouds up, making the underlying paint job very hazy. To my relief, it became clear again as it dried.  I took the advice of some online forums and did not touch the finish for 24+ hours. Apparently, the oils in your hands can soak into the finish before it is dry, leaving it with a sticky texture forevermore. We certainly don’t want that!

My reference pictures helped during reassembly. I did have to break the blaster down again after discovering that one of the charging slides didn’t function properly. Other than that, it was a fairly straightforward process.  As complicated as the inner workings looked to me, I managed to get it back together with minimal confusion or difficulty. And it functions perfectly!

And so, without further ado, here are the before and after pictures:

Before and after. I was worried that the gold paint didn't make that much if a difference, but it definitely does.

Before and after. I was worried that the gold paint didn’t make that much if a difference, but it definitely does.

You may notice that I didn’t paint the barrel bluing onto the blaster. I actually tried a couple of different methods, but couldn’t get it right.  I think an airbrush would be the way to go, but I don’t have that kind of airbrush skill. Or an airbrush, for that matter.  And so, I elected to ignore that part of the paint job. I mean, at some point, Peter Quill’s blasters were new, right?

It looks ready for action!

It looks ready for action!

And it still works!

And it still works!

As always, I appreciate any comments, suggestions, or questions! If you enjoyed reading about the project and have a couple of extra dollars, I (and CASA) would appreciate you supporting my fundraising effort! You all are awesome!