Turns out, it takes a while for spray paint to dry completely. After letting the paint set for 24+ hours, I began phase two of the gun conversion.
After doing some research, I decided to use Deft Wood Finish for a clear coat. If you’re doing something like this, make sure to wear gloves and a mask. The mask is key. The fumes go to your head quickly and – as the bottle nicely points out – can cause brain damage. Yeah.
I had a little debate with myself when choosing what type of finish to use: gloss or satin. I liked the idea of using satin as the gun is supposed to be worn and dirty. I was afraid, however, of losing the metallic look of the rub-n-buff. I ended up applying the satin to the back two sections of the outer shell to see how it looked. I have to say, I loved the way it made the black paint look. However, I did lose the metallic luster of the rub-n-buff and so decided to go with a gloss for the rest of the gun.
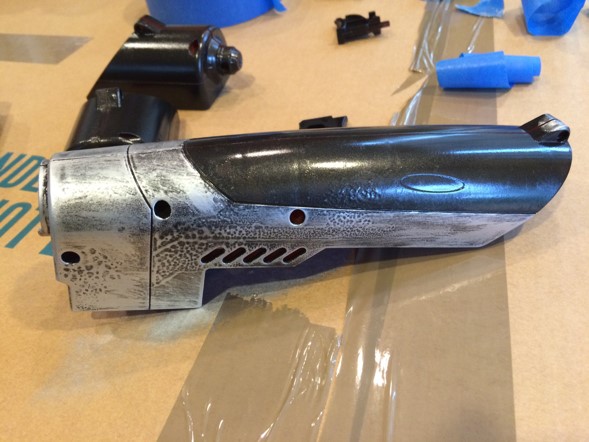
After applying the first coat, I was worried that I had ruined my paint job. When the sealer goes on, it often clouds up, making the underlying paint job very hazy. To my relief, it became clear again as it dried. I took the advice of some online forums and did not touch the finish for 24+ hours. Apparently, the oils in your hands can soak into the finish before it is dry, leaving it with a sticky texture forevermore. We certainly don’t want that!
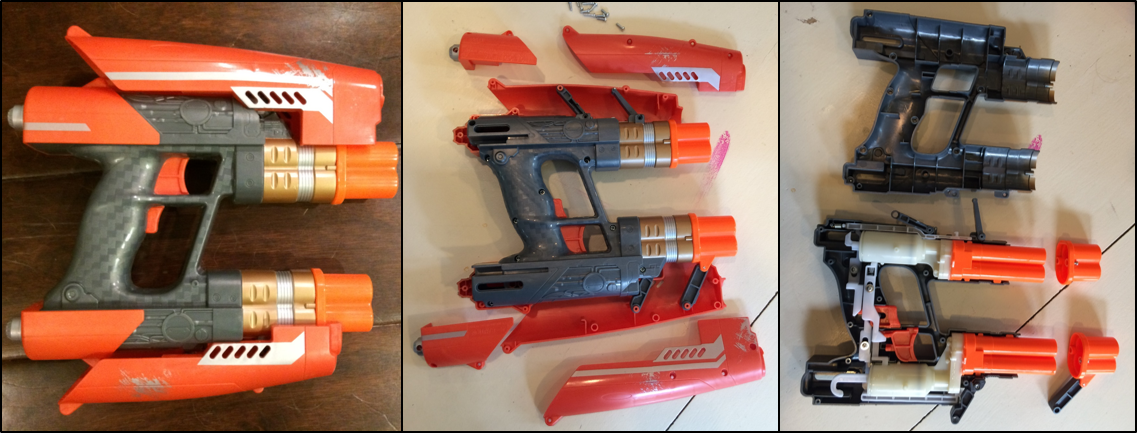
My reference pictures helped during reassembly. I did have to break the blaster down again after discovering that one of the charging slides didn’t function properly. Other than that, it was a fairly straightforward process. As complicated as the inner workings looked to me, I managed to get it back together with minimal confusion or difficulty. And it functions perfectly!
And so, without further ado, here are the before and after pictures:

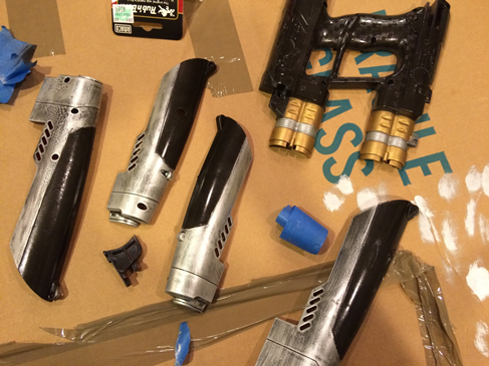
Before and after. I was worried that the gold paint didn’t make that much if a difference, but it definitely does.
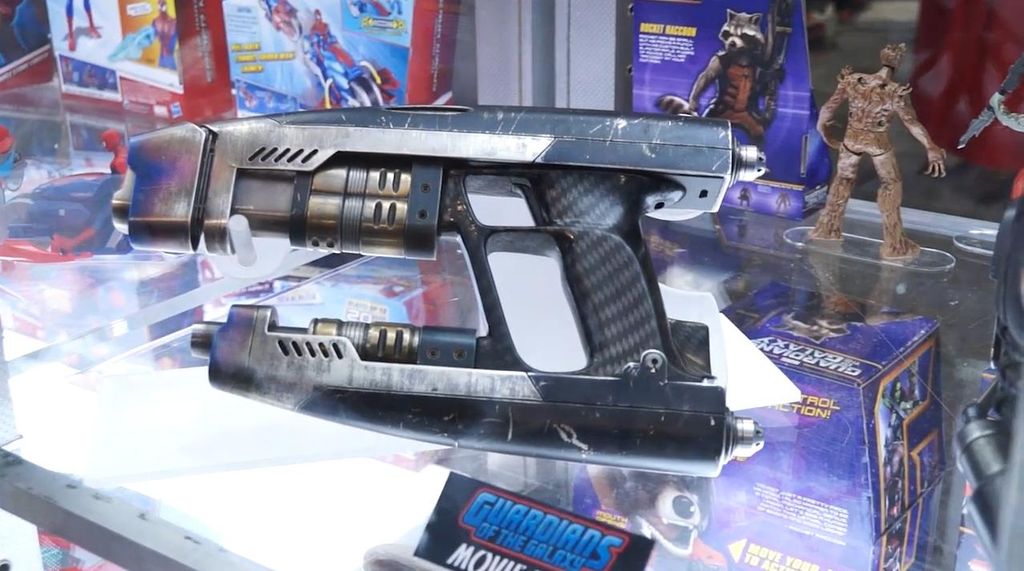
You may notice that I didn’t paint the barrel bluing onto the blaster. I actually tried a couple of different methods, but couldn’t get it right. I think an airbrush would be the way to go, but I don’t have that kind of airbrush skill. Or an airbrush, for that matter. And so, I elected to ignore that part of the paint job. I mean, at some point, Peter Quill’s blasters were new, right?
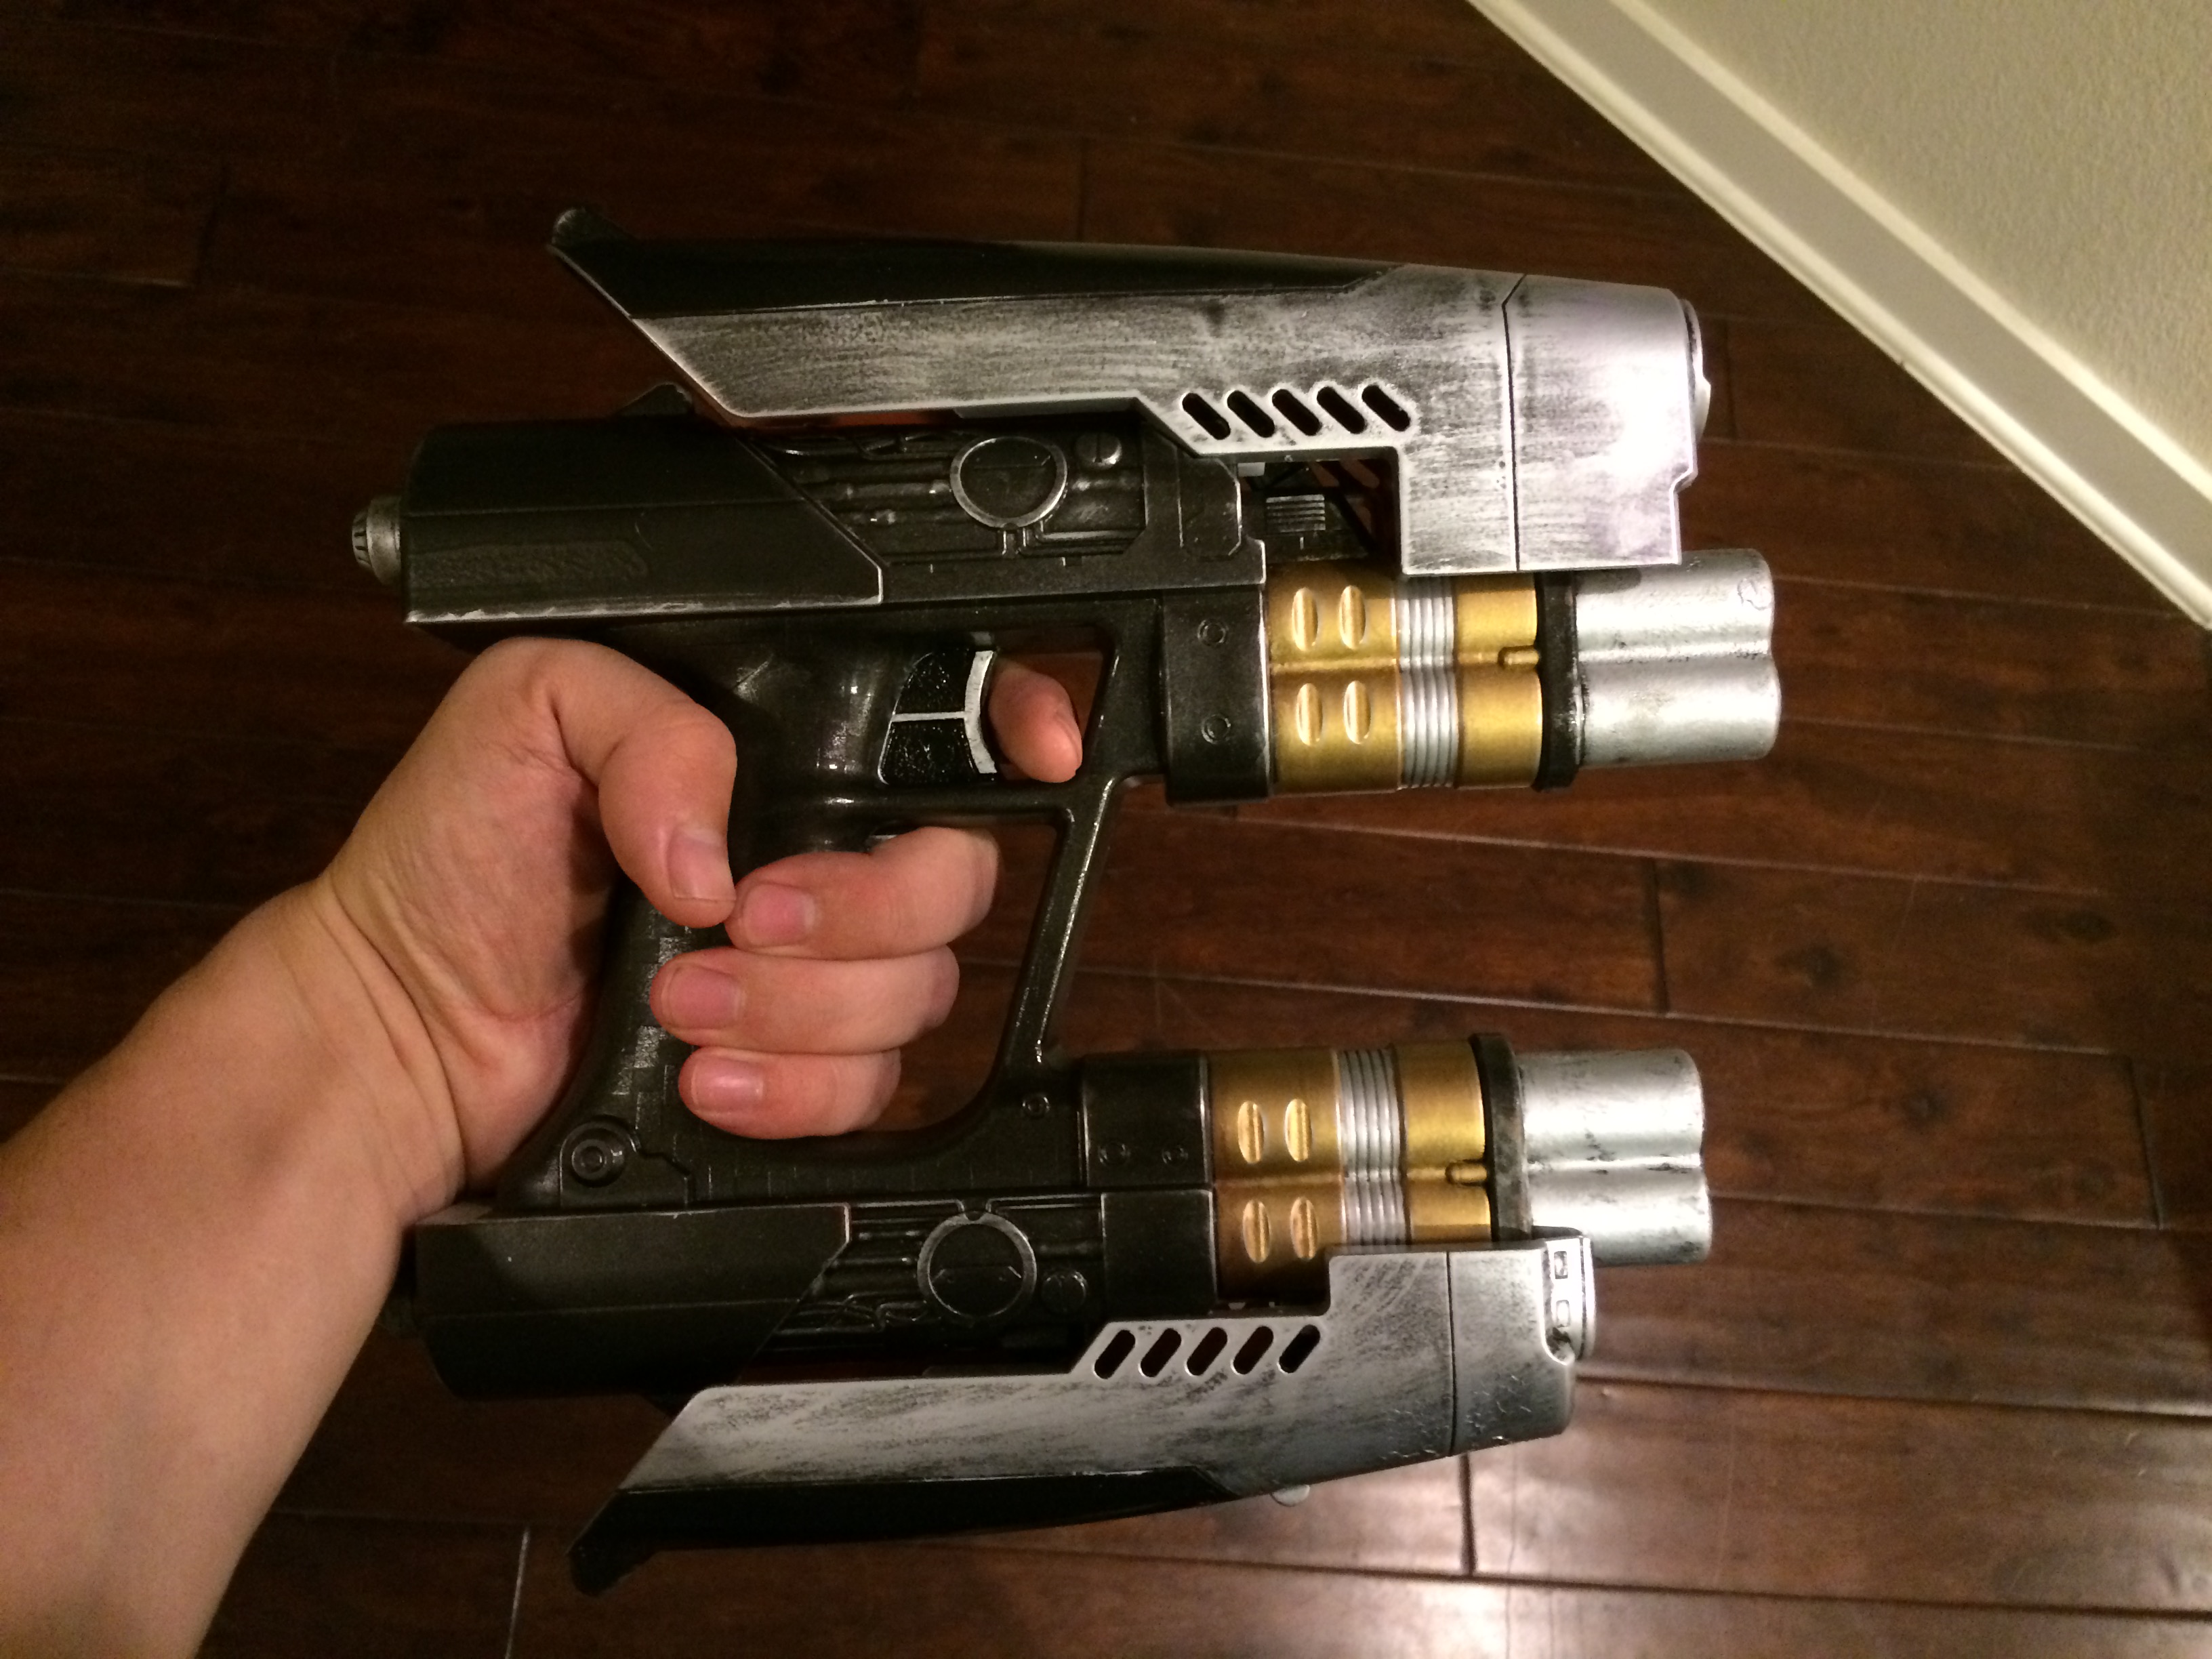
It looks ready for action!

And it still works!
As always, I appreciate any comments, suggestions, or questions! If you enjoyed reading about the project and have a couple of extra dollars, I (and CASA) would appreciate you supporting my fundraising effort! You all are awesome!